


Share:
Table of Contents
Are you selling on platforms like Facebook and Google Shopping? Adding the right custom fields to your product feed ensures your listings meet channel requirements and reach the right shoppers.
When creating a WooCommerce product feed, the default product details like title, price, and description aren’t always enough. Many sales channels, such as Google Shopping or Facebook, require additional product information to display your listings properly. That’s where custom fields come in.
Custom fields allow you to add extra product data like brand, GTIN, age group, material, or any unique specification that may not be available in the standard WooCommerce settings. Adding these custom fields to your product feed helps improve data accuracy, meet marketplace requirements, and increase the chances of your products getting approved and discovered.
In this article, we’ll walk you through what custom fields are, why they matter, and how you can easily add them to your product feed step by step using the WooCommerce product feed plugin.
Key Takeaways:
- WooCommerce’s default data isn’t enough for many marketplaces. Custom fields collect required details, such as brand and GTIN, to ensure approval.
- Adding accurate, detailed custom product data enhances feed quality, increases the likelihood of approval by sales channels, and improves product discoverability.
- The WooCommerce Product Feed plugin makes it easy to add and map custom fields without complex setup.
In WooCommerce, every product includes a set of standard fields, such as product name, description, price, SKU, category, and images. These are the default data points used to display and sell products on your store. While these fields cover the basics, they may not always be enough when you want to share detailed product information with external sales channels like Google Shopping, Facebook, or other marketplaces.
That’s where custom fields come in. Custom fields allow you to add additional product information beyond WooCommerce’s built-in fields. This extra data can include anything specific to your products or required by a sales channel, such as brand name, GTIN, MPN, age group, gender, material, pattern, unit pricing, or other technical specifications.
Custom Fields vs Product Attributes
It’s easy to confuse custom fields with product attributes, but they serve slightly different purposes:
- Product attributes (like size, color, or weight) are typically used for variations and filtering within your WooCommerce store. They are visible on the product page and often selectable by customers.
- Custom fields, on the other hand, are additional metadata added behind the scenes. They may or may not be displayed on the product page, but are extremely useful for storing structured data required for product feeds and third-party integrations.
For example, while “Color” can be an attribute used for variations, a value like “GTIN” or “Google Product Category” is usually added as a custom field because it’s mainly required for marketplace listings rather than customer selection.
Real Use Cases for Custom Fields
Custom fields are especially useful when:
- You need to submit brand, GTIN, or MPN for Google Merchant Center.
- You want to specify age group or gender for apparel products.
- You need to include material or pattern details to improve product discoverability.
- You must provide unit pricing (e.g., price per kg or per liter) for compliance in certain regions.
- You want to send unique product identifiers required by a specific marketplace.
By using custom fields effectively, you can ensure your product feed contains all the necessary data to meet channel requirements, improve listing quality, and increase your chances of better visibility and approvals.
Now that you understand why custom fields matter, let’s walk through how to add them to your product feed using the WebToffee WooCommerce Product Feed plugin.
Step 1: Enable Custom Field on the Product
Before adding a custom field to your feed, you need to make sure the field exists and has a value assigned to the product.
- Go to Products > All Products in your WooCommerce dashboard.
- Go to the product where you want to add the custom field. Scroll down to the Product data section and select WebToffee Product Feed from the sidebar.
- Select a custom field value (for example, Age Group, Gender, GTIN, Brand, or Material).
- Click Update to save the product.

Repeat this for other products if needed. Make sure the values are consistent (for example, use “male” instead of mixing “men” and “Male”) to avoid feed errors.
For example:
Let’s say you’re selling a men’s cotton t-shirt and want to list it on Google Shopping. Google requires the attributes gender and age_group for apparel products.
Here’s what you would do:
- Select the custom field named gender and set the value to male.
- Select the custom field named age_group and set the value to adult.
- If available, add brand and GTIN as custom fields with their correct values.
After saving the product, these custom field values will be available when you map attributes in your product feed. This ensures your product meets Google’s requirements and reduces the chances of disapproval.
Step 2: Create or Edit a Product Feed
Once you’ve added custom field values to your products, the next step is to include them in your product feed using the WebToffee WooCommerce Product Feed plugin.
- From your WordPress dashboard, navigate to WebToffee Product Feed.
- Click Create New Feed if you’re setting up a new feed or edit an existing feed where you want to add the custom field.
If you’re creating a new feed:
- Select the country and channel (for example, Google Shopping, Facebook Catalog, TikTok, etc.).
- Give your feed a recognizable name for easier management later.

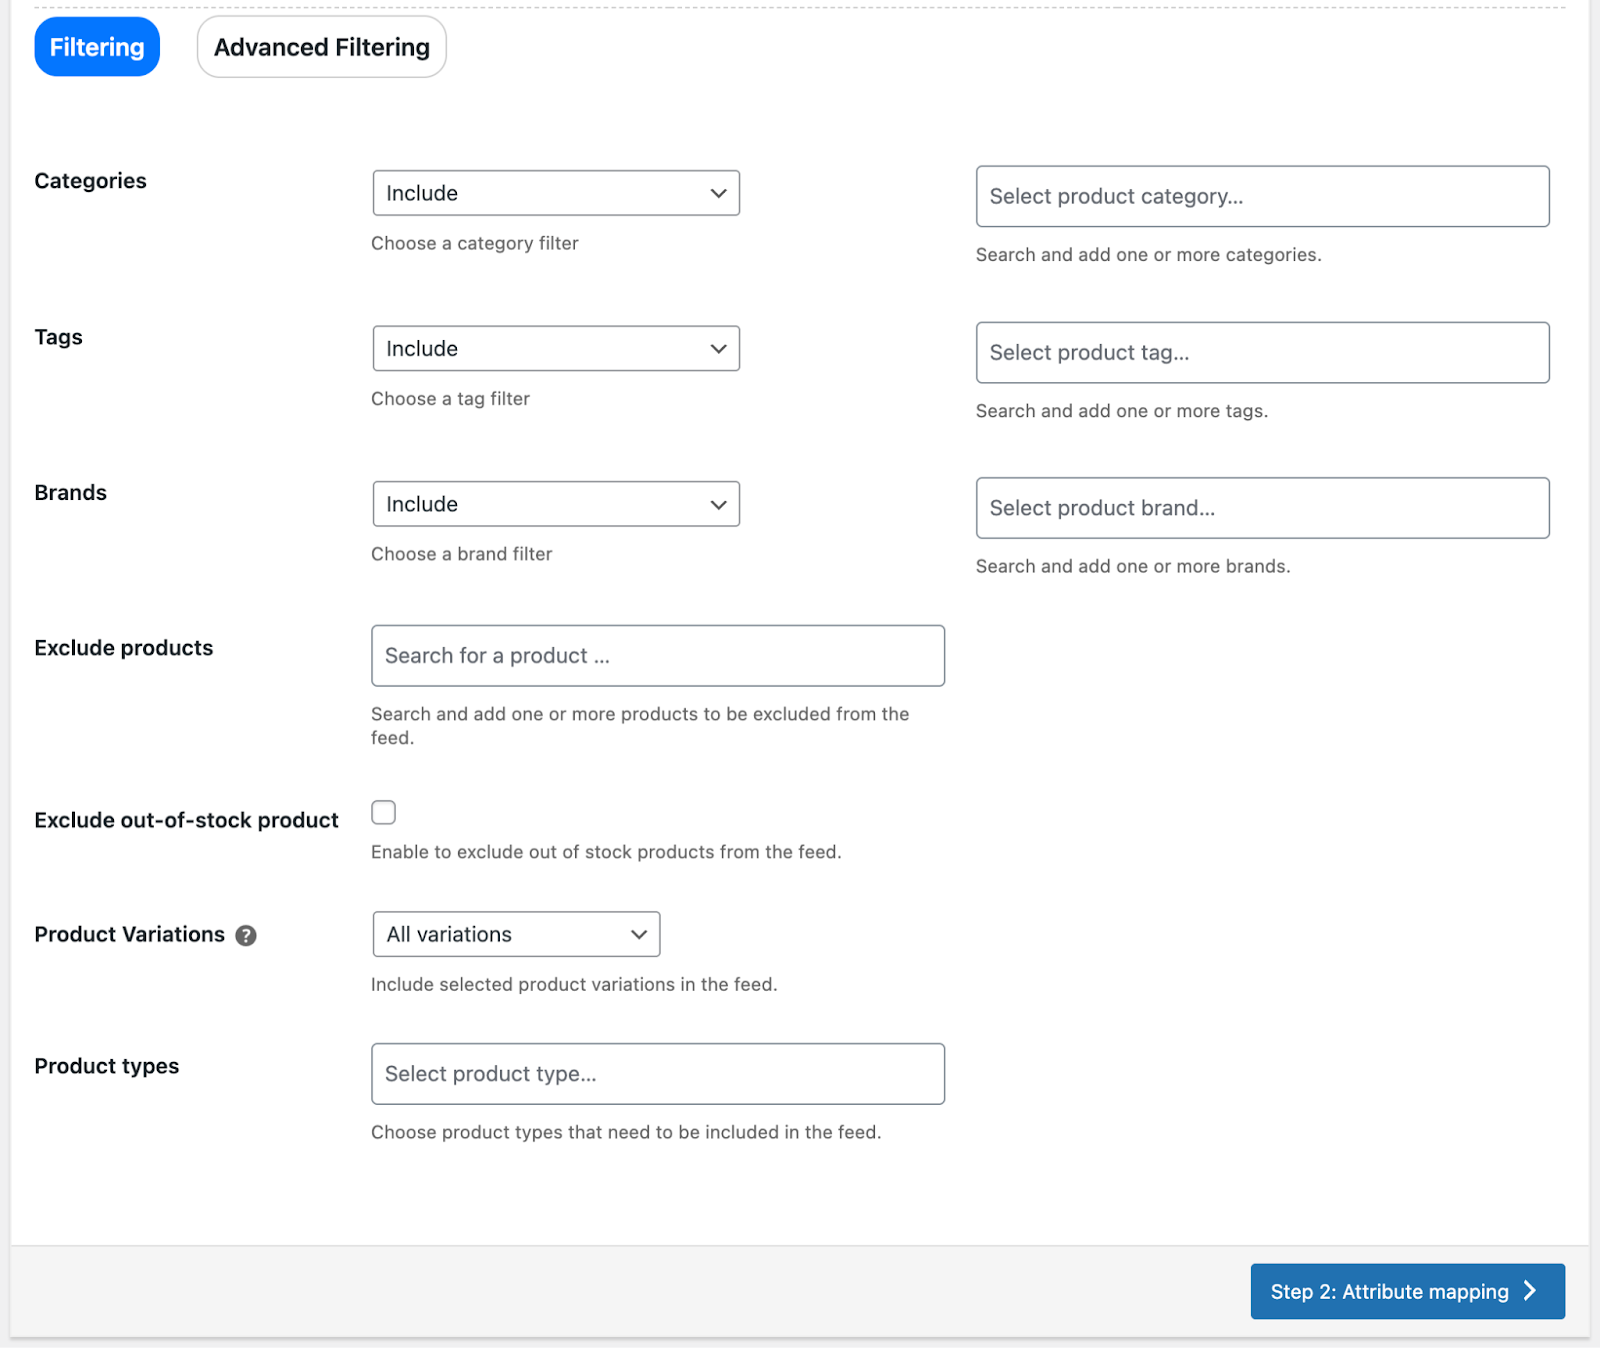
After selecting the sales channel, use the filtering options to choose which products to include (by category, tag, stock status, etc.)
Proceed through the feed configuration steps until you reach the attribute mapping section.
Step 3: Map Custom Fields to Channel Attributes
This is the most important step. Mapping ensures your custom field data is correctly assigned to the required attribute for the selected sales channel.
When you reach the Attribute Mapping section in the feed setup, you’ll see two main columns:
- One column shows the sales channel attributes (brand, GTIN, age group, color).
- The other column lets you choose the corresponding WooCommerce or custom field from a dropdown list.

Let’s say you’re creating a Google Shopping feed and Google requires the attribute age_group.
You previously added a custom field called age_group with the value adult to your apparel products. Now, in the Attribute Mapping section:
- Find the Google attribute Age Group [age_group] in the left column.
- In the corresponding value dropdown on the right, select your custom field Age Group.

This tells the plugin: “Use the value stored in my custom field ‘age_group’ and send it to Google under the required attribute ‘age_group’.”
Step 4: Finalize and Generate the Feed
After mapping your custom fields to the appropriate channel attributes, you’re almost done. Now it’s time to finalize the configuration and generate the feed.
First, complete any remaining setup steps, such as category mapping. Make sure your WooCommerce product categories are correctly mapped to the sales channel’s taxonomy (for example, Google’s product categories). Proper category mapping helps platforms understand your products better and improves visibility.

In the next step, set a batch count and choose the feed file format (XML, CSV, or TXT) as required by the platform.
Once everything is configured, click Generate to create the feed file.
Wait for the plugin to process the feed. This may take a few moments, especially if you have a large number of products. Once the feed is generated, you’ll be able to see the custom field data included in the feed output.
For example, if you mapped the custom field age_group, the generated feed will now contain the age_group attribute with the corresponding values (such as adult, kids, etc.) for each product. This confirms that the custom field has been successfully mapped and exported.
Best Practices for Custom Fields in Product Feeds
Adding custom fields to your WooCommerce product feed is powerful, but to get the best results, it’s important to follow a few best practices. Proper setup ensures smoother approvals, better performance, and fewer feed errors.
1. Use Consistent Naming and Value Formats
Consistency is key when working with custom fields.
- Use clear and standardized field names (e.g., age_group, brand, gtin).
- Avoid creating multiple versions of the same field (like AgeGroup, age group, and age_group).
- Keep value formats consistent across all products.
For example:
- Use “male” instead of mixing “Men,” “men,” and “Male.”
- Use “adult” instead of alternating between “Adult” and “Adults.”
Sales channels like Google often require specific predefined values. Inconsistent formatting can lead to disapprovals or limited visibility.
2. Avoid Duplicating Similar Fields
Creating multiple custom fields that serve the same purpose can cause confusion during mapping.
For instance:
- Don’t create both brand_name and product_brand if they store the same data.
- Avoid mapping different fields to the same channel attribute unless necessary.
Keep your data structure clean and organized. This makes feed management easier and reduces the risk of mapping errors.
3. Validate Against Channel Requirements
Each sales channel has its own required and recommended attributes. Before generating your feed:
- Review the platform’s product data specifications.
- Ensure all required attributes (like GTIN, brand, and age group for apparel) are included.
- Confirm values follow formatting rules (e.g., valid GTIN numbers, accepted age group values).
For example, Google Shopping requires specific values for condition (new, refurbished, used). Sending “brand new” instead of “new” may cause errors.
Validating your custom fields against channel guidelines improves approval rates and product performance.
4. Test and Preview Before Publishing
Always review your feed before submitting it to a sales channel.
- Preview the generated feed file.
- Check that custom fields appear correctly.
- Verify that no required fields are missing.
- Look for empty values or incorrect formatting.
Testing helps you catch issues early and prevents unnecessary rejections or account warnings.
Conclusion
Adding custom fields to your WooCommerce product feed gives you greater control over the information you send to sales channels. When your product data is structured correctly, your listings are more likely to get approved quickly, appear in relevant searches, and perform better in ads. Rich, well-mapped product information improves visibility, enhances product discovery, and ultimately increases your chances of driving more clicks and sales.
Don’t hesitate to experiment with additional custom fields that may improve your listings further. Test different attributes, review your feed performance, and refine your data over time. A well-optimized product feed isn’t just about meeting requirements — it’s about giving your products the best possible chance to stand out and succeed across multiple sales channels.


